This topic contains a solution. Click here to go to the answer
|
|
|

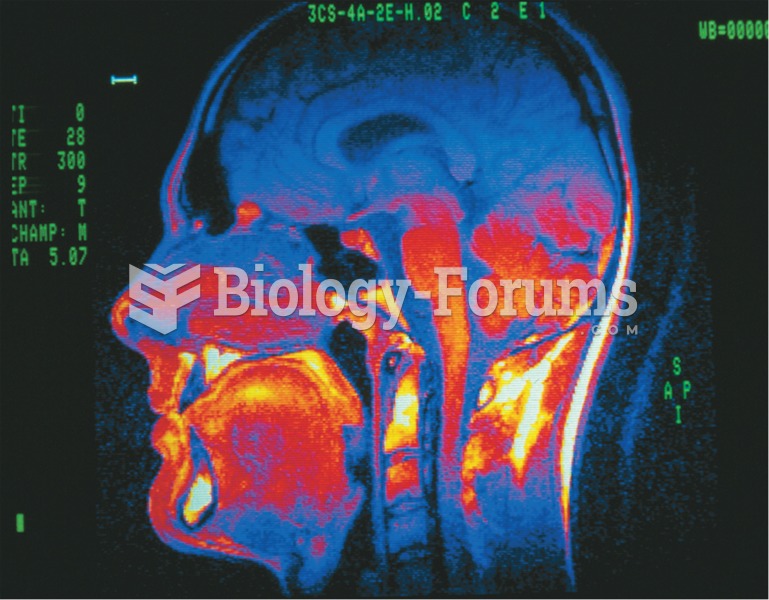 Color-enhanced magnetic resonance image (MRI) showing a sagittal view of the head.
 Comparison of Steps of the Nursing Process with the Research Process
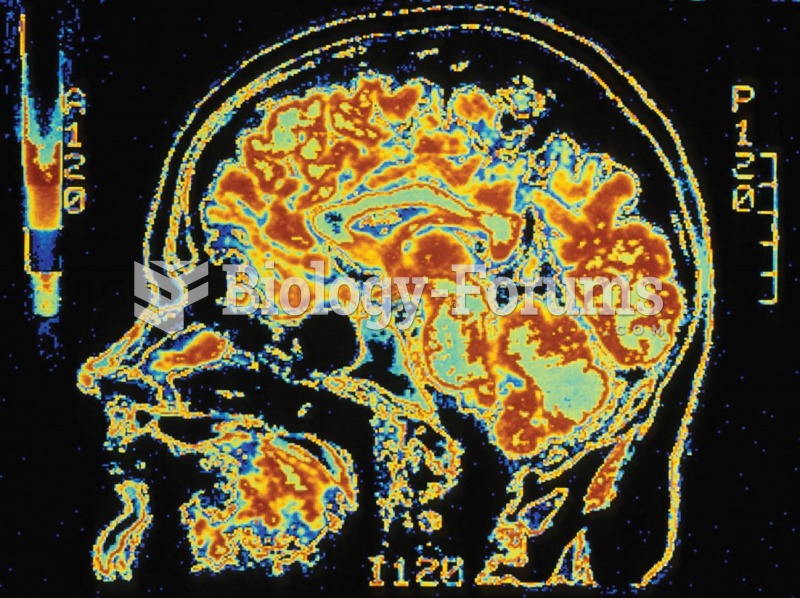 A color-enhanced MRI image of the skull.
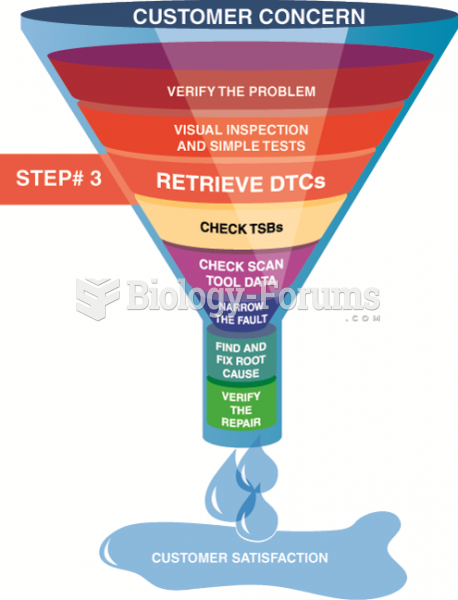 Step 3 in the diagnostic process is to retrieve any stored diagnostic trouble codes.
 Describe the development of atherosclerosis, including its role in the risk of heart disease
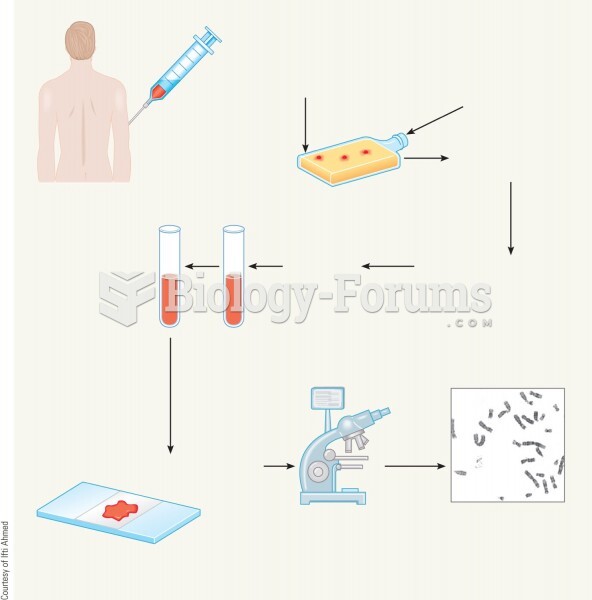 The steps in the process of creating a karyotype for chromosome analysis.